I got this Bally Kiss pinball machine in for repair.
The owner told me it often does not boot up.
(Only G.I. worked when powering up.)
When i tried to start it up, it worked.
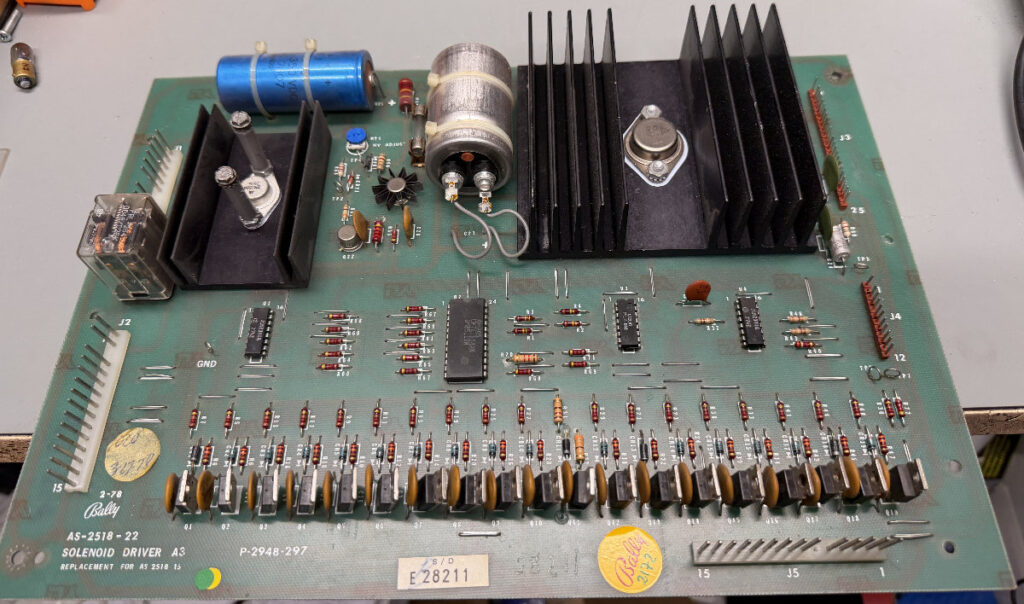
I removed the solenoid board for capacitor change because it still had the original capacitor on it.
I also replaced the E710 transistor with a new LM323K.
On the backside i also did the improvements for the ground and +5v lines, so they does not have to leave the board just to return from another pin on the connectors. 🙂
This mod helps with securing the ground and +5v on the board.
After the repair i tried starting the game again, and it worked this time too.
I checked the +5v line on the MPU board, and it was +5.01v, great.
I powered off the game and tried to start it again, but this time only the G.I. turned on.
The lamp on the MPU board did not turn on.
Tried a second time to start it but with the same result.
Checking power on the rectifier board showed that all DC voltages was cut in half.
Incoming voltage to the rectifier board was ok.
So i removed the transformer/rectifier board and put it on my bench.
To remove the transformer i had to cut the wires on connector J3 because they were soldered directly to the board by a previous owner..
When trying to measure the “big” resistor (600 Ohm) it was open..
This resistor seems to be unobtainium so i had to use one from one of my spare parts rectifier boards.
I also replaced the four diodes on CR1-4 with four new 1N4004. (Standard size for the game)
I would have used the beefier 1N4007 instead, but i had none left of these in storage.
I also put in new header pins for J3, and re-pinned the connector.
Testing the rectifier board on the bench showed that all voltages were in spec.
The transformer were remounted.
I have now started the game about 15 times since these repairs and it had worked every time, so hopefully the booting problem is now gone. 🙂
I also noticed in the lamp test that a couple of the controlled lamps did not work.
Two bulbs were out but four other lamps were ok but would not turn on.
I removed the lamp driver board and put int on my bench.
Testing the board showed that i had to replace four transistors, and now the missing lamps are ok.